
Using an EQ to Shape Sound Without Destroying It
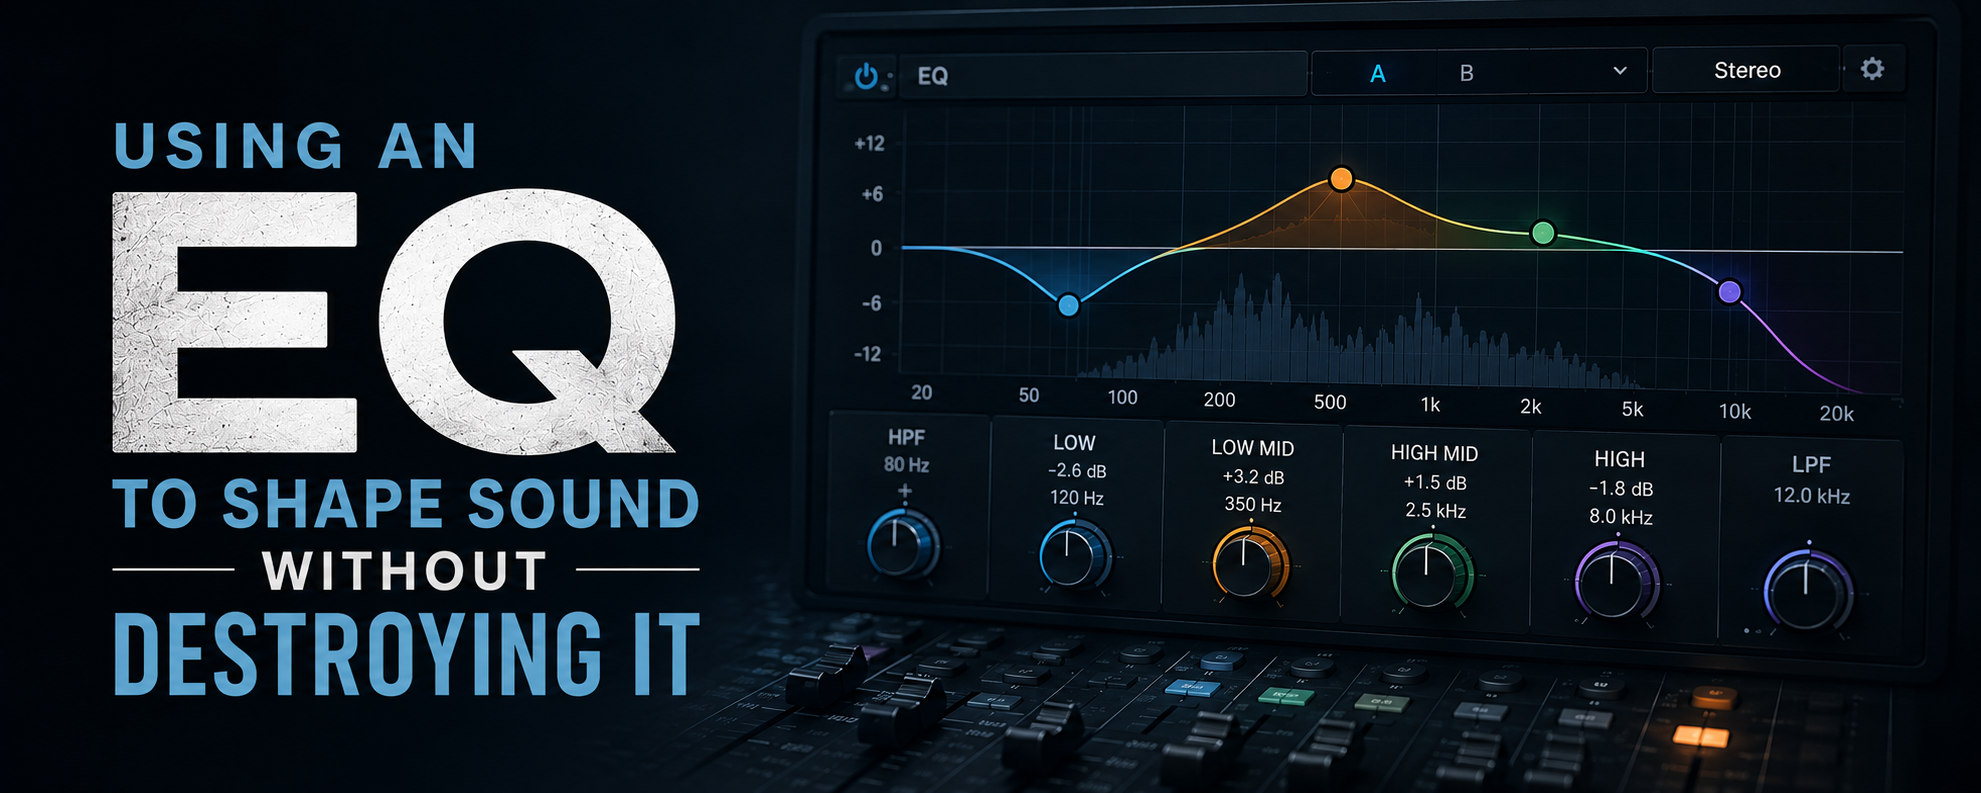
An Equalizer (EQ) allows you to alter a sound by adjusting certain frequencies, which can be helpful for bringing out good tones and for reducing (or even eliminating) any unwanted noise. Unlike a volume fader (which reduces the overall volume of a track), an EQ will allow you to turn up or turn down individual frequencies so you can adjust the individual elements of a specific sound.
Fundamental Frequencies and Overtones
Every instrument has a fundamental tone, but they also have other frequencies that overlap each other at different levels. These overlapping frequencies are often referred to as “overtones,” but many orchestrators call them “partials.” This is what gives an instrument its unique tone or character (often referred to as “timbre”). It’s also why a bass guitar sounds different than a piano or organ.
If you adjust these frequencies by cutting or boosting them, you can change the tone of that instrument. But you can’t completely alter the sound of an instrument with just an EQ. You can only work with what’s already there. During the recording process, you have to decide what type of tone you want. You can then use an EQ to make small changes so you can get closer to your goal.
Understanding the Frequency Spectrum
Before you can use an EQ, you need to understand the frequency spectrum. You could use a frequency chart to help you. But on a basic level, an EQ plugin will have a frequency range that moves from left to right. On the left side of the EQ, you’ll see the low frequencies (which start at 20 Hz). On the right side, you’ll see the higher frequencies (which peak at around 20 kHz). This is the range of human hearing.
Some people can hear 20KHz. But even if you may not be able to hear it, you can still feel its impact. So, you don’t want to ignore it. The same is true for 20Hz. But even if you can’t hear it, you can still feel it (especially if you’re listening to it on a large sound system). What exists between these frequencies lies the range of human hearing, which can be broken down into five distinct categories:
Sub-Bass (20-60Hz) — You can hear these frequencies a little bit if you’re on studio monitors or headphones, but there’s no way you can hear them if you’re on a laptop or cell phone.
Bass (60-200Hz) — This is where you’ll have a lot of bass guitar. Low-end vocals can also fall within this frequency range, because many male singers can have a fundamental that falls below 200Hz.
Low Mids (200-600Hz) — This is one of the most critical areas for home recording because it’s where you’ll get a lot of guitars, vocals, and even the top end of the bass guitar. It’s also one of the common causes of having “mud” in a mix.
Mids (600Hz-3KHz) — Most of human hearing falls within this frequency range, so it’s important to make sure you EQ them correctly. You want to have plenty of room for this range, but it’s also where you can start to get harshness and aggression in your mix.
Upper Mids (3-8KHz) — In this frequency range, things can start to get harsh. And in many cases, it’s where you’ll start to see brittleness in a mix. It’s also an important frequency range for clarity and aggression, especially for vocals.
Highs (8KHz-30KHz) — This is where you’ll start to have “air” in a mix. You could split this frequency range into two categories, with 8-12KHz being the treble range and anything above that can be called “air.”
That’s the breakdown of the entire frequency spectrum, but it would be a good idea to study a frequency chart to get a better understanding of how and where these ranges work within a broader context.
Using a Frequency Chart
A frequency chart can help you make intentional decisions about when and how to use an EQ. Not only does it break down the entire frequency spectrum, but it also uses descriptive words to explain each frequency range and how it sounds. The purpose of using an EQ is to balance the frequency spectrum, and using a frequency chart can be a useful tool for figuring out where the sound is unbalanced.
If you study a frequency chart carefully and memorize it, you will get better at using an EQ. If you know that something sounds brittle, you know you’ll have to adjust the high mids. If it sounds muddy, the problem is in the low mids.
You also need to realize that EQ adjustments aren’t black and white. You may be listening to a track and think it sounds thin (which is an indication that it’s missing the low frequencies). You may decide to use an EQ to boost them. But eventually, you’ll realize that it didn’t help like you thought it would. It will, in fact, make the track sound more cluttered.
Sometimes, an instrument that you think doesn’t have enough energy in one area has too much in another (or vice versa). If you boost the low end and it sounds more cluttered, it may be because the track has too much energy in the upper mids. But once you cut some of those frequencies, the instrument will sound more balanced.
You should always mix with your ears. If you think a particular decision will sound good and it doesn’t, don’t keep it there because you think you should. Do some problem-solving, and you may find that there’s something else you can do to achieve the same result.
While frequency charts can be great for more intentional EQ’ing, you don’t want to reference them constantly. You should eventually have them memorized. This will not only keep your workflow from slowing down, but it will also keep yourself from “overusing” them. Using EQ’s too much can suck the life out of your music.
You also want to avoid any frequency charts that are specific to a single instrument, because not all sounds are created equal. No two guitars will sound the same, and no two snares will sound the same. These types of charts can give you a lot of useful information, but it may not apply to your version of that instrument. You could be making decisions based on false information, which could make your mixes sound worse.
Main Approaches for Using an EQ
An EQ can be used in a few different ways, which include the following:
Removing Nasty Elements — This is sometimes referred to as “surgical EQ,” because you’re cleaning up a particular sound source. And it must be done before you can do any tonal shaping. Once you have removed all the nasty elements, you’ll have more room for all the good parts to come through.
Enhancing the Pleasing Elements — Once you have removed all the nasty parts of a track, you can work on enhancing the more pleasing elements. This is where an analog modeling EQ can come in handy. I personally use the stock EQ in Cubase Pro.
Making Things Sound Different — This can be a great way to make your mixes sound more interesting, especially if you only do it in specific sections or phrases. You could filter out all the top and bottom ends of a vocal track to make it sound like it went through a telephone.
Creating Space in a Mix — This technique is useful if you want to add more clarity to your final mix. You can cut frequencies on some instruments while boosting them in others, which can be useful if you want to give each part its own pocket in the frequency spectrum.
Regardless of how you use an EQ, it’s important to trust your ears.
Helpful Tips for Using an EQ
Now that you know about the different approaches for using an EQ, here are some tips that may be useful for you down the road:
Use it with intention — You don’t want to randomly boost and cut frequencies to see what works. You need to know what you want to achieve and figure out how you can achieve it.
Don’t just rely on EQ to shape the tone — You want to shape the tone during the recording phase of the project, because that’s ultimately what you’re going to be stuck with. You can use EQ to make it sound better and to shape it a little more. But ultimately, the tone will be decided when you’re recording.
Prioritize cuts but still boost — Aggressive boosting can ruin the quality of your audio by making it sound unnatural and harder to mix. You want to do your best to cut frequencies (what’s referred to as “subtractive EQ”) and only boost if you absolutely have to.
Don’t worry too much about plugin order — A lot of people worry about where to place an EQ in the plugin chain. They also worry about whether it should be applied before or after compression. But it really doesn’t matter. Sometimes, it sounds better before compression is applied. And sometimes, it sounds better after it’s applied.
You can’t use EQ to fix a bad recording — You should only use an EQ to remove unwanted frequencies or to change the character of the sound, but you can’t use an EQ to make a bad recording sound good.
Create instant clarity by removing muddiness — The frequency range that causes most of the problems in many home recordings is 250-500Hz, because most instruments are heavy in those frequencies. This is where your mix can sound “muddy,” especially if there’s too much going on in that frequency range. If you want to fix this problem, making a gentle but wide cut of 3dB in this frequency range can be a good starting point.
An EQ should be used as a scalpel and not as a knife. Make small, intentional changes that will enhance the audio. But using it too aggressively can ruin your mix.
Common Mistakes When Using an EQ
Now that I’ve given you some tips on how to use an EQ more effectively, here are some common mistakes that even seasoned professionals can make:
Ignoring the high-pass filter — Unless it needs to be heavy on the bottom end, you should apply a high-pass filter on every track. But even if the track is for a kick drum or bass guitar, I like to roll off anything below 20-30Hz.
Using too much EQ — If your EQ curve looks like a roller coaster with dramatic cuts and aggressive boosts, you’re doing something wrong. If you need to cut 10dB of the low-mids from a vocal track, you may have a problem with mic placement or room acoustics. Every dB of EQ you apply to a track will cause phase shifting, which is why you want to make gentle adjustments that sound more natural.
Forgetting about EQ in the mastering process — Your mix may sound great on your studio monitors, but it may not translate across other listening environments (such as a car stereo system or cell phone). That’s why you need to reference your tracks on many different sound systems. That way, you won’t end up mixing in a “frequency bubble” (where you make EQ decisions that were made for a single listening environment).
The mechanics of an EQ are deceptively simple. It’s just frequency, gain, and bandwidth. But the way you use it can determine if your mixes sound good or bad. Your EQ doesn’t need to be fancy to be effective. You do, however, need to know what to change and how to change it.
